How to print a risograph zine
An intro to risograph, breaking down costs, & sharing my tips for riso printing zines!
When creating my first zine, I wanted to learn how to risograph print as part of the process. Today’s post will cover everything I learned while printing my risograph zine!

But first, what is risograph?
Riso duplicator machines were invented in the mid-1980s in Tokyo, Japan by the Riso Kagaku Corporation. The process is similar to screenprinting—each color has an associated stencil—but introduces the convenience of mass printing via machine which makes it much more affordable and efficient.
Riso printing supports a select number of spot color inks; the options will vary based on the specific press (see example colors from Lucky Risograph, Risolve and SVA’s RisoLab). You can create variation in color by modifying the transparency and by overlapping colors. Inks are vegetable oil-based, making for a eco-friendly print process.
Who should use riso?
Riso is known for its variations and uniqueness in texture. This is not the printing method for high precision—smudges and uneven color can frequently happen. Inks are also not archival, so it wouldn’t be recommended for fine art prints meant to last hundreds of years. But it’s a great choice for posters, zines, and any other printed project where imperfection and uniqueness are welcome!
How do I set up my files for riso printing?
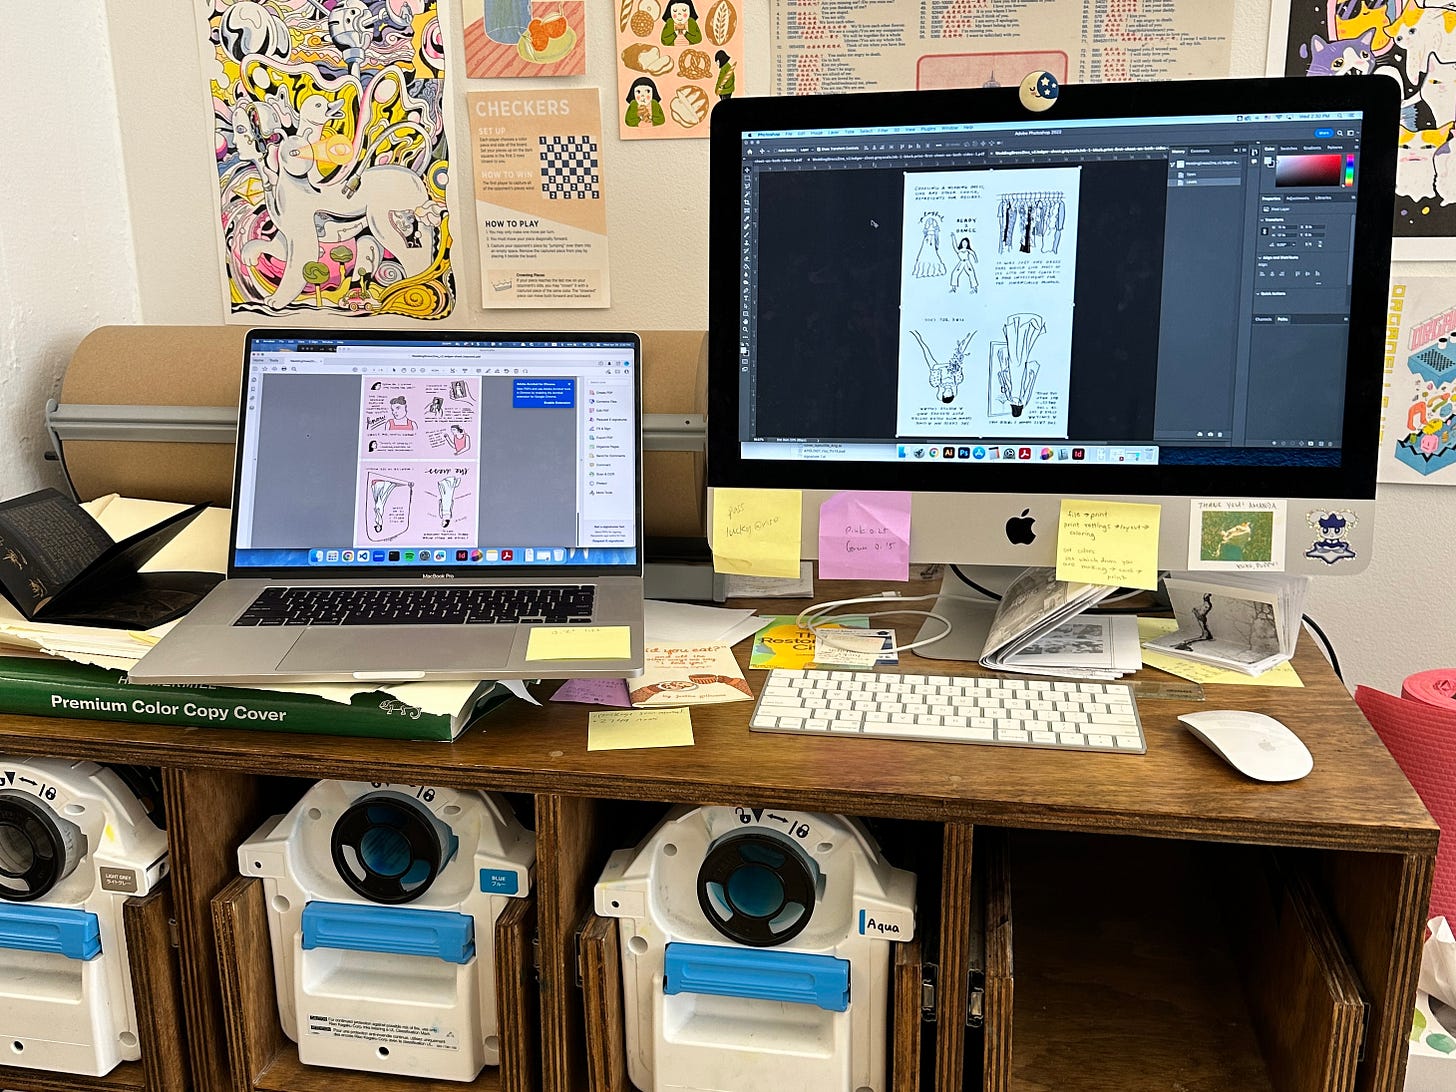
Riso printing is not a digital printing process where you simply print your CMYK file and wait—file setup is a bit more involved! Each color ink you’re using will need to be separated onto its own layer so that the riso machine can burn the wax stencil (also known as a master) that is laid onto the drum of ink. Once the masters are set up, the drum will force the ink through the stencils onto the paper.
Riso machines will commonly hold two ink drums at once, so you can print two colors onto your pages. If your print has more than two ink colors, you’ll need to swap out the ink drums, make the master stencils, then run your papers through the machine again. For this reason, a limited color palette of 1-4 colors is very common for riso. Even with this small number, a large variation in color is possible via transparency and overprinting.
Luckily there are really great tools made by the riso community to help with file setup, like the free app Spectrolite by Amelia and Adam Greenhall (aka ANEMONE). Read their primer on how to riso-ify your work into separate files! The more complex your artwork, the more you’ll want to separate your layers manually, but the tool was perfect for me to use for my two-color zine.
As for paper size, it’s common to print ledger size paper (11x17 inches) and trim accordingly. Thus if you’re making 8x10” riso prints, you can print two on one page. For half letter zines, you can print four pages / two spreads on one ledger page.
This all sounds complicated. Why didn’t you outsource the printing?
Leaving the printing to the experts would have been much easier, and there were times I regretted my decision to print myself (namely while I was recycling loads of paper where the double-sided printing was upside down 🥲). There are plenty of talented risograph studios out there who you can trust to do the job!
But a large goal of this zine making process was to learn the process, and I wanted maximum control over the final output of the work. Having access to these riso machines can be hard to come by, so I wanted to take advantage of living in a city where I could try my hand at printing.
Also, DIY printing is much cheaper, especially for smaller print runs! I printed my zines at a local AAPI-owned press Lucky Risograph. Were I to outsource printing and binding to them, each 24 page zine would have cost over $10 for a run of 50 and around $8 for a run of 75 (excluding paper costs). DIY printing cost me $5.50 per zine, and that includes the cost of making extra master stencils because of my mistakes.
Is risograph printing cheaper than digital printing?
Definitely not! Riso printing is more affordable than other types of spot color printing (screenprint, offset, silkscreen) but digital printing remains the cheapest printing method.
Adding up the full cost of paper and printing, each zine cost about $8 to make. Getting a quote for my project through a digital printing service such as Mixam, each zine would have cost around $2-3.
Got it. Any final tips for printing zines?
Zine file setup: Spectrolite comes through again with layout formatting for zines. I uploaded my PDF to the app and it arranged the pages so that the sheets could be folded into a zine after printing double sided. There were slight glitches such as added margins that I needed to fix before printing—if I were to print again, I would lay out my zine in Indesign following the same format for more control.
Printing text with riso: To print text, vectors need to be retained so you’ll want to add and print via Illustrator or Indesign, and not Photoshop which rasterizes type. Avoid printing smaller than 12pt.
Full color pages: Printing large areas of block color at full opacity is not recommended, due to striping/lines that will likely occur as well as heavy ink usage. However, it should be fine to do at lower opacity as I did for these zines! The pink background color you see is made from fluorescent orange ink at a very low opacity. I printed the color rather than using pink paper since I had white areas I needed to retain in my artwork. Heavily inked areas need more drying time, but because the amount of ink used at low opacity is minimal, I didn’t have to worry about this too much.
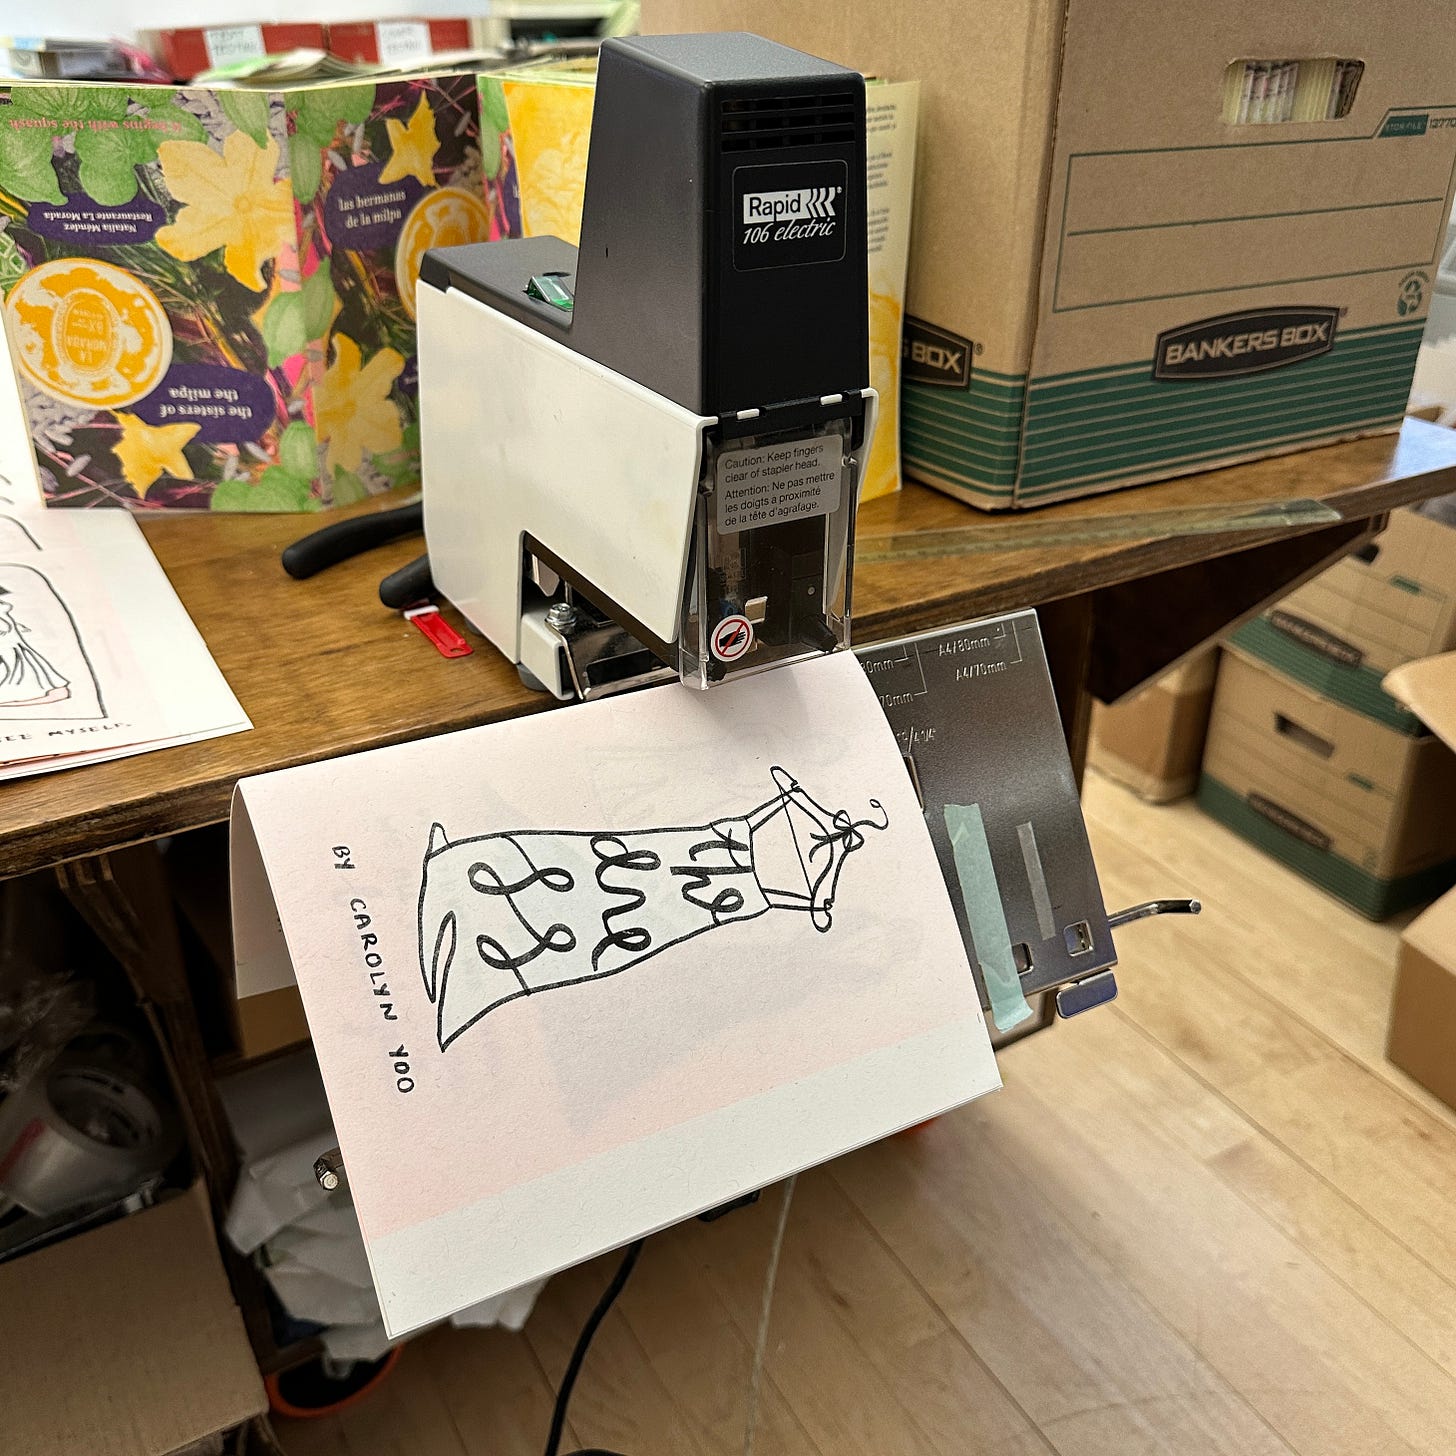
Order of operations for zine assembly: Print your pages, collate (e.g. assemble in order) your papers, trim the tops and bottoms, rough fold in half, bind, bone fold, then trim the edges.
I hope this was a helpful post on risograph printing! Highly recommend checking out a risograph studio or attending book fairs to learn more and perhaps create your own riso project 🖨️ I’ve enjoyed work from the following presses: Lucky Risograph, Risolve, Secret Riso Club, Tiny Splendor, and TXTBooks.
Have any questions about riso printing or zine printing? Ask away in the comments!
Thank you to everyone who’s bought a copy of “The Dress” so far! It truly is a pride and joy to be able to share a piece of my life and heart with you. The reviews are in:
"Carolyn distills the complex emotions—hope, excitement, uncertainty—in finding a wedding dress, in what it symbolizes, with heartfelt storytelling and illustrations. A moving, tender zine that will capture your heart!" - Karen Mok


Looks like so much fun!! Thanks for sharing your process!
Awesome! Thanks for sharing the process!