


Throwing a wedding in NYC, part 2
Decor and details galore, including all the DIYs

Thank you for all the love and replies on last week’s wedding post! This week is a part two follow up, where I’ll share all of the custom illustrations and details from the big day.
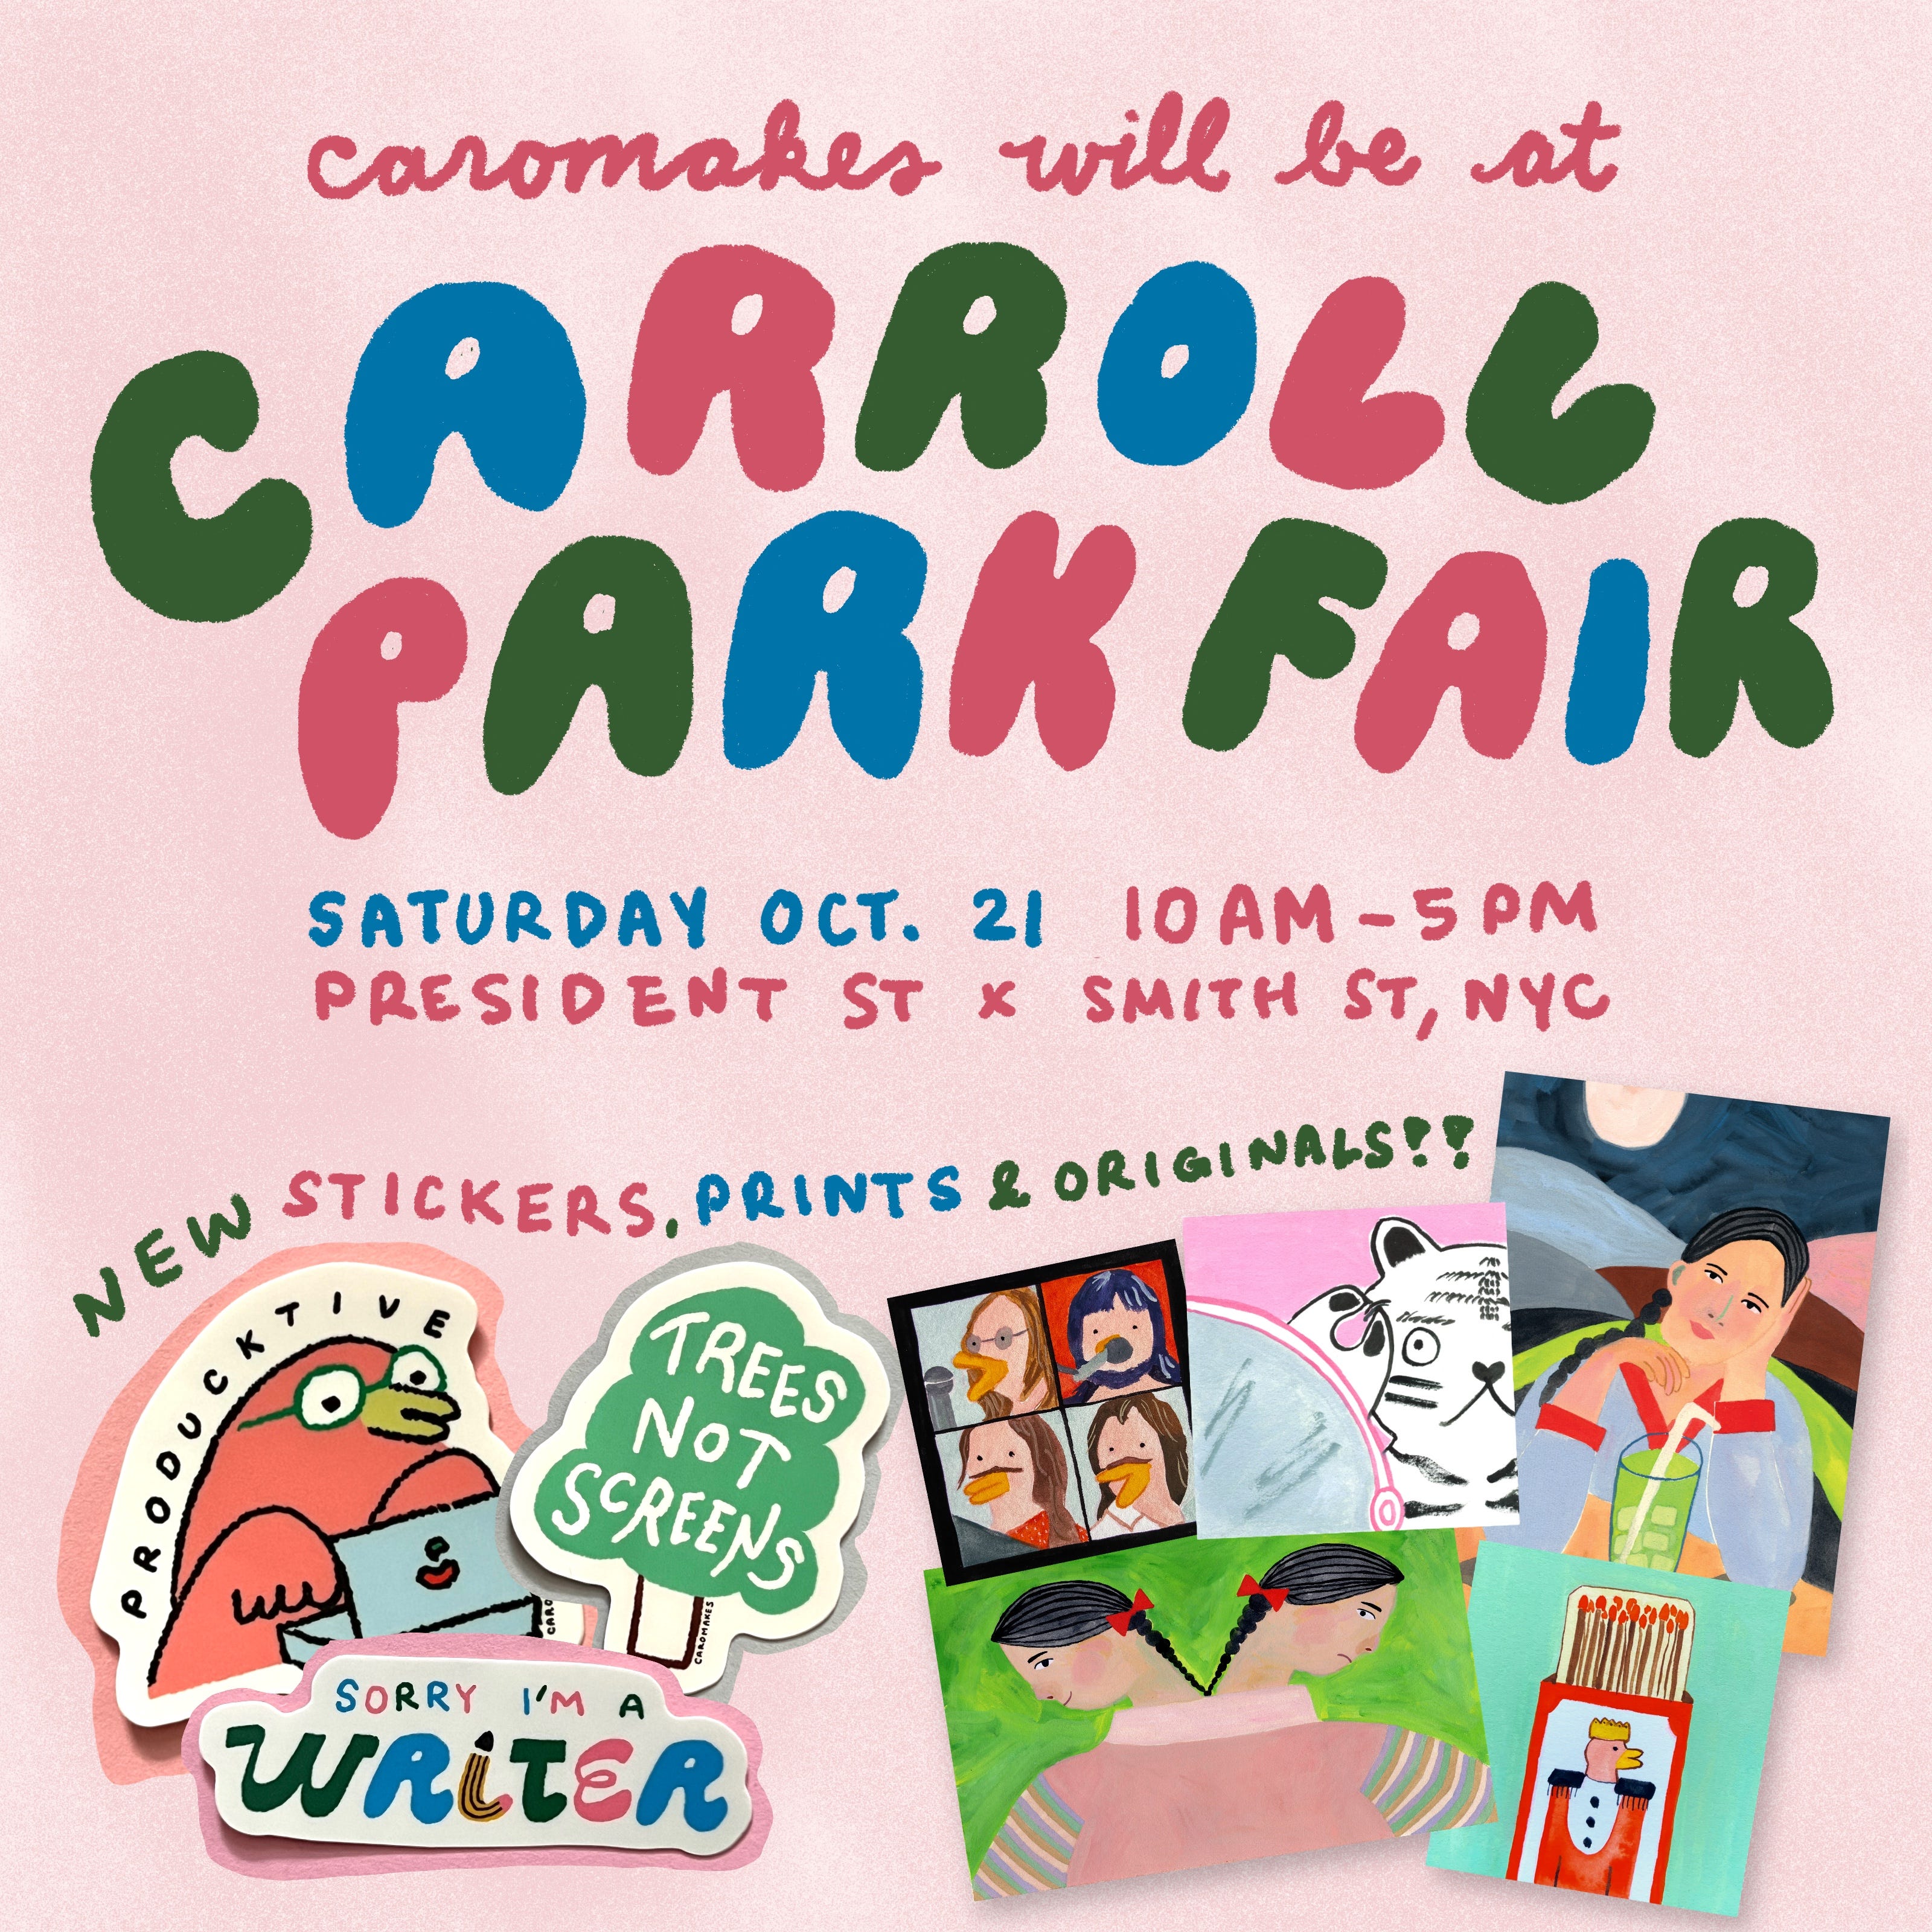
Before we dive in, I wanted to announce that I’ll be selling at my first market at Carroll Park Fair next Saturday, October 21 (10 AM - 5 PM)! If you’re in NYC, I’d love for you to drop by :) I have new prints, stickers, and a bunch of ~exclusive originals~ up for grabs. I might just draw you too 😉
Now on to all of the wedding things!
Save the Date:
Once you have a venue and a date, you can send out save the date invitations. Some folks are sending these a year in advance these days(?!?) but we sent ours six months out via email.

I designed this graphic in Photoshop with an illustration of wedding ducks, a Korean wedding motif that will show up many more times in this post! (I love ducks so I was thrilled to find a meaningful way to include them).
Make sure to include your wedding website (I cropped it off here for privacy reasons), and be wary of invites going to spam if you’re sending via email! Most of our guests already knew our date and it was easier to text them directly to get their addresses for the wedding invitations, so I don’t think save the dates are all that necessary for smaller guest lists.
Website:
From the get go I knew I did not want to go with wedding website builders such as Zola, Minted, or The Knot. These are all free and easy to use, and I’d probably have used them if I had no coding or design experience.
Instead, I bought a custom domain for $8 and used Adobe Portfolio to build our website. It wasn’t the best solution since it didn’t allow for embedding our registry or RSVP form, but it was free with my Adobe subscription and did the job of putting together something polished and unique without too much work!
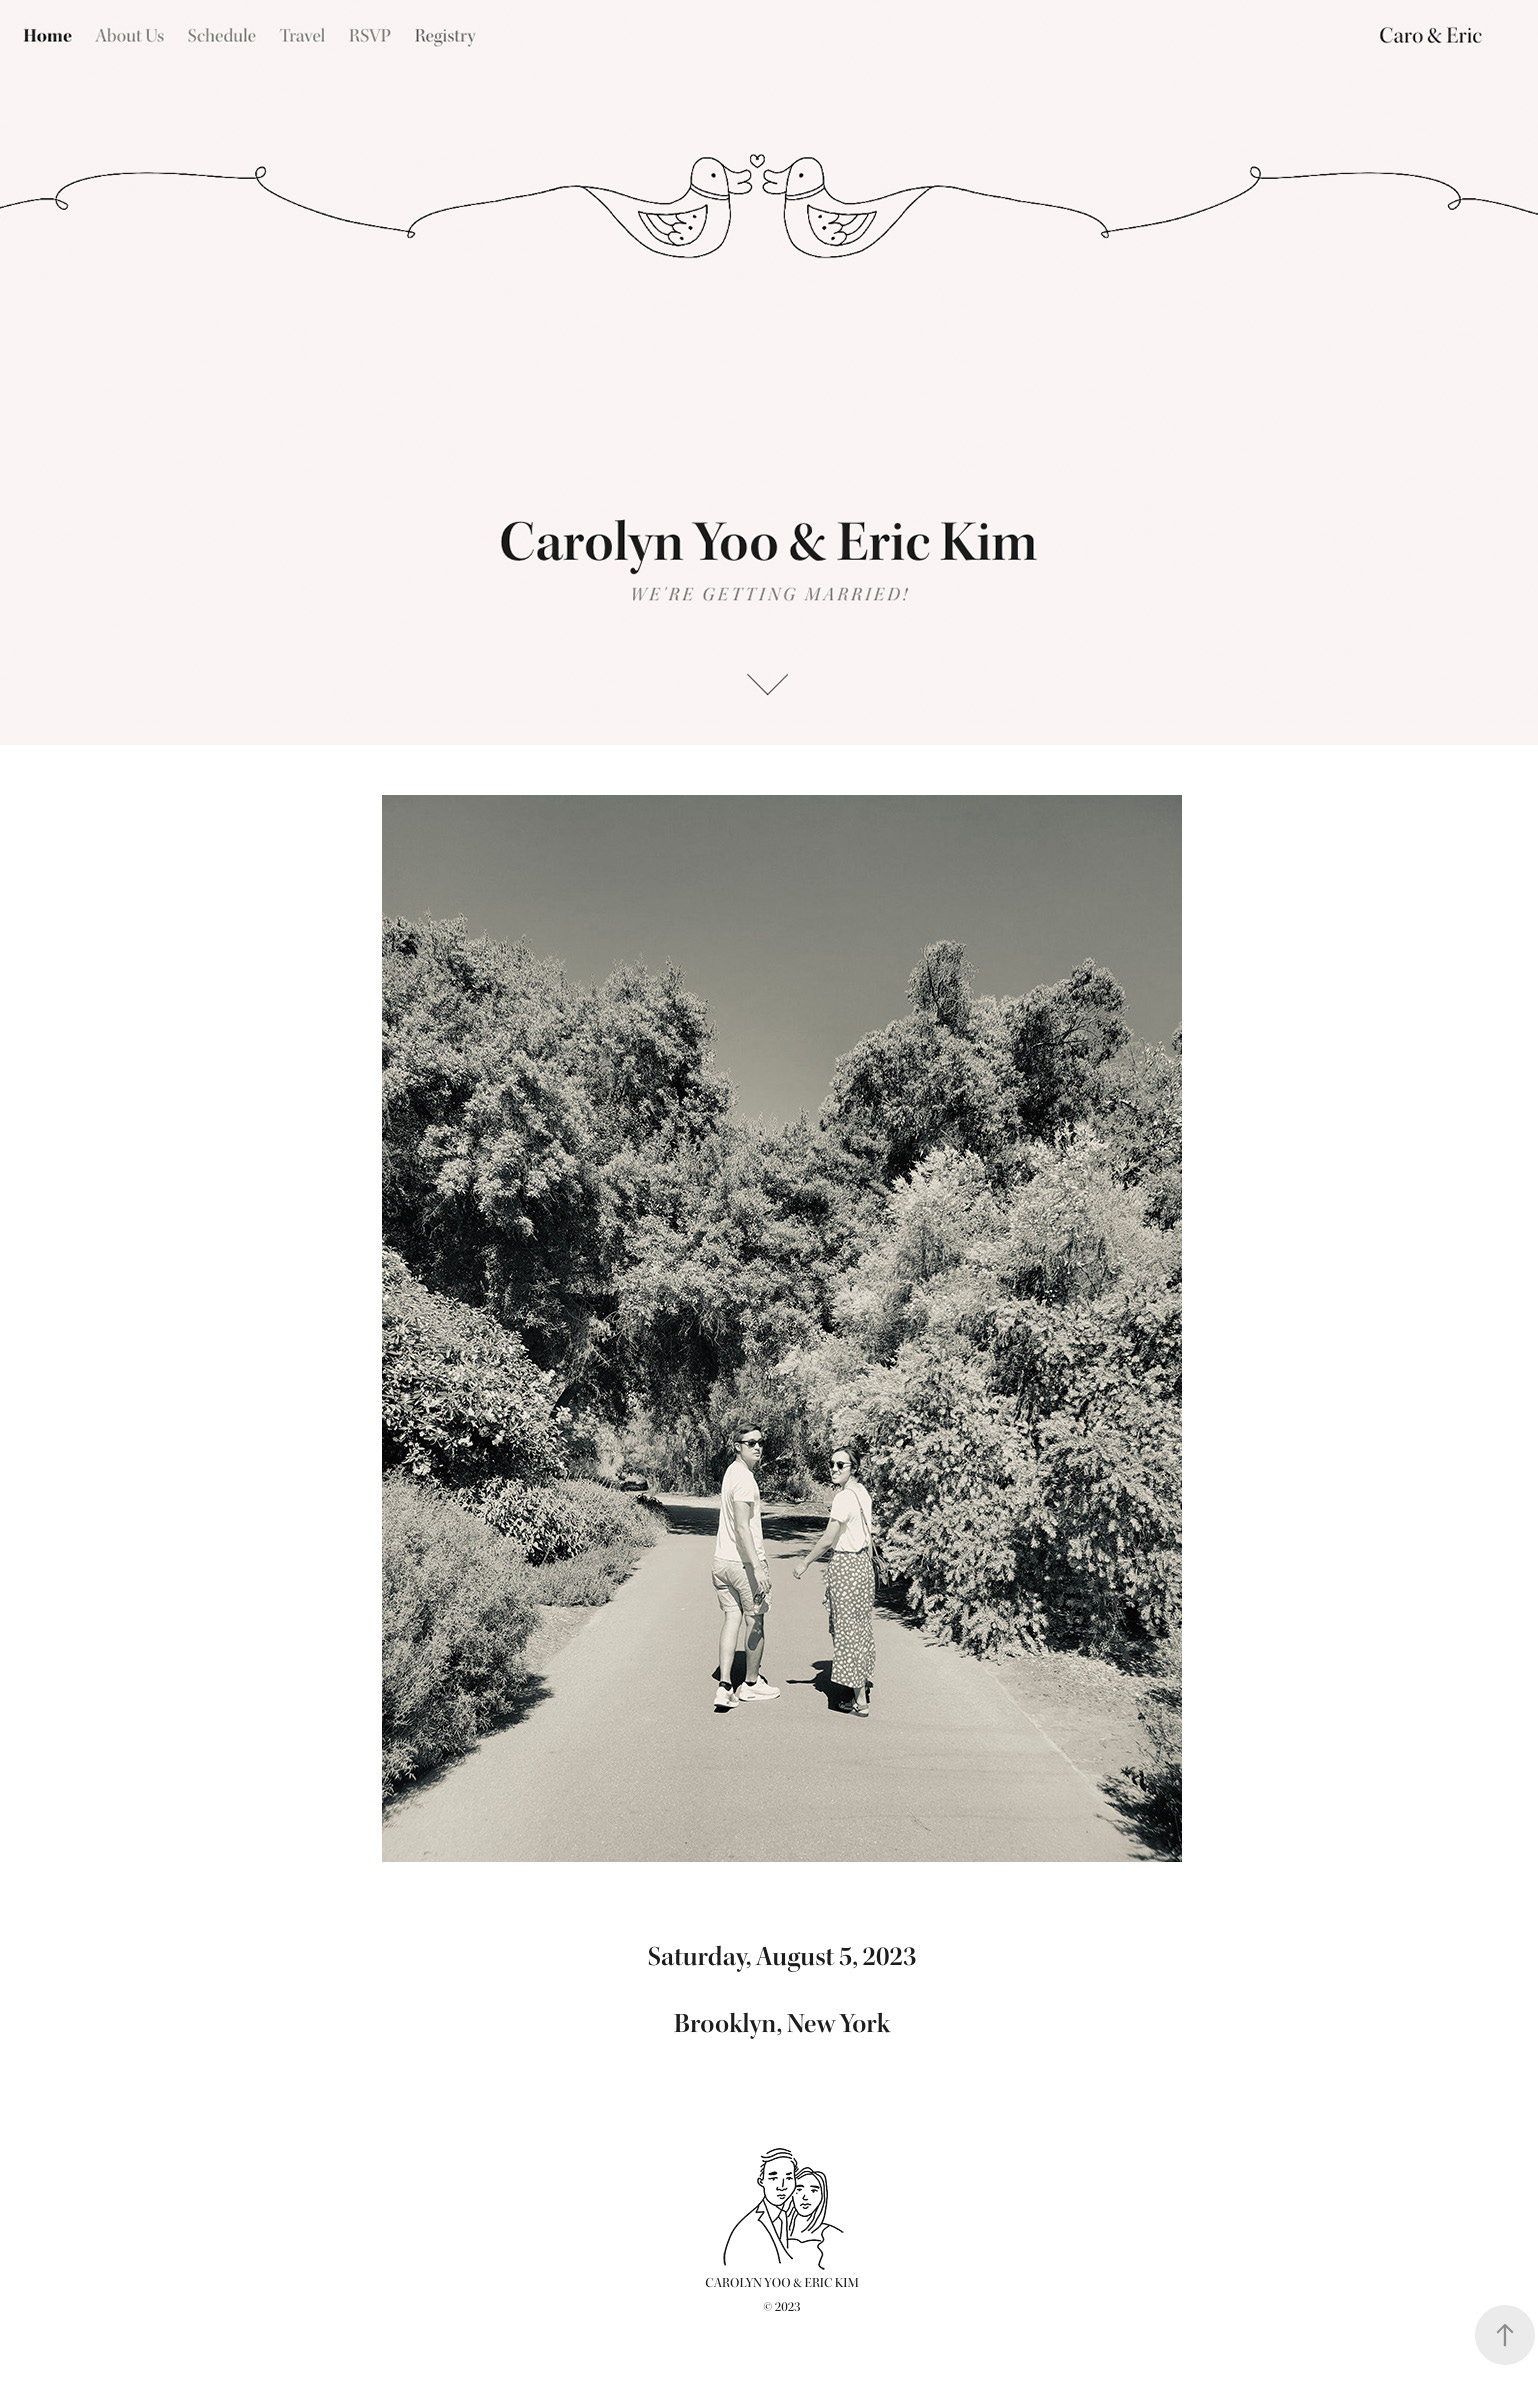
I peppered in several other illustrations throughout our site, from the icons to match the subheadings on our About page, a portrait illustration of us, and a drawing of our venue for the Travel page. All of these were line drawings I made in Procreate.


Printed Materials:
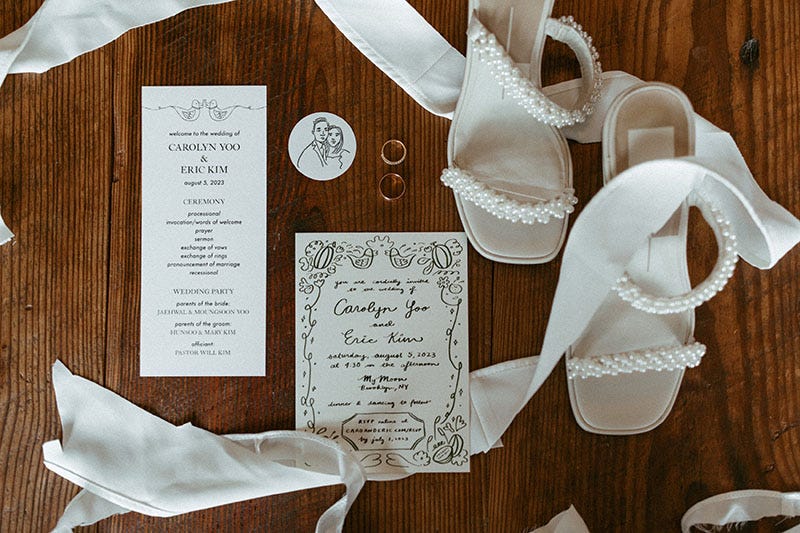
After collecting stationery inspiration on Pinterest, I knew I wanted a fun border on our wedding invitation with some summer fruits, and of course the ducks at the top (center, image above). I could not for the life of me commit to any colors—I saw so many bright and colorful painted invites I loved, but also loved the emphasis on linework and custom handwriting on the monochrome ones too!
Since our website and save the date thus far leaned minimal, Eric and I settled on using a dark green for the border for a subtle variation. I sketched some ideas with ink on paper then finalized the invite on Procreate, then ordered via Catprint on cream linen extra heavy card stock. Catprint offers free paper samples which I’d recommend you order to see which papers you like.
For our program (left, image above) designed in Photoshop, I reused the same ducks from our website/save the date. These were printed at FedEx on cardstock paper, three to a sheet then trimmed.
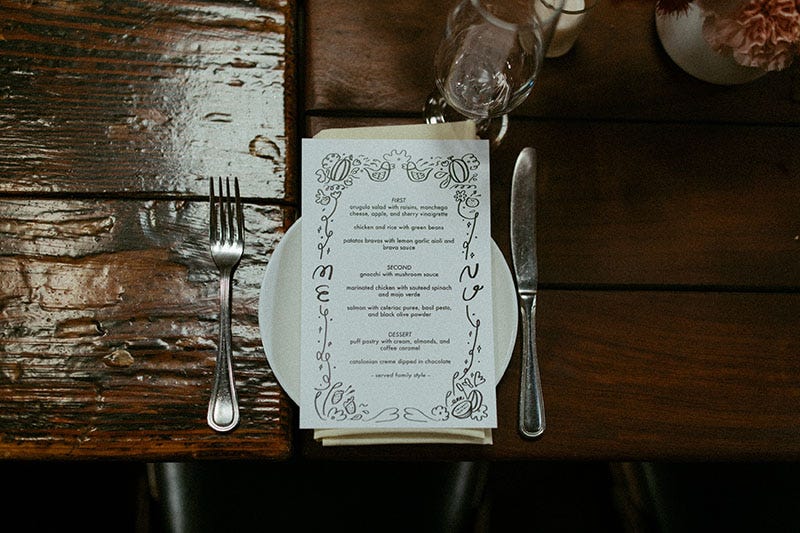
For our menu, I reused the same border from the invite. The motto is to REUSE EVERYTHING! For design consistency of course, but also…less work. These too were printed at FedEx on cardstock paper (two to a sheet then trimmed).
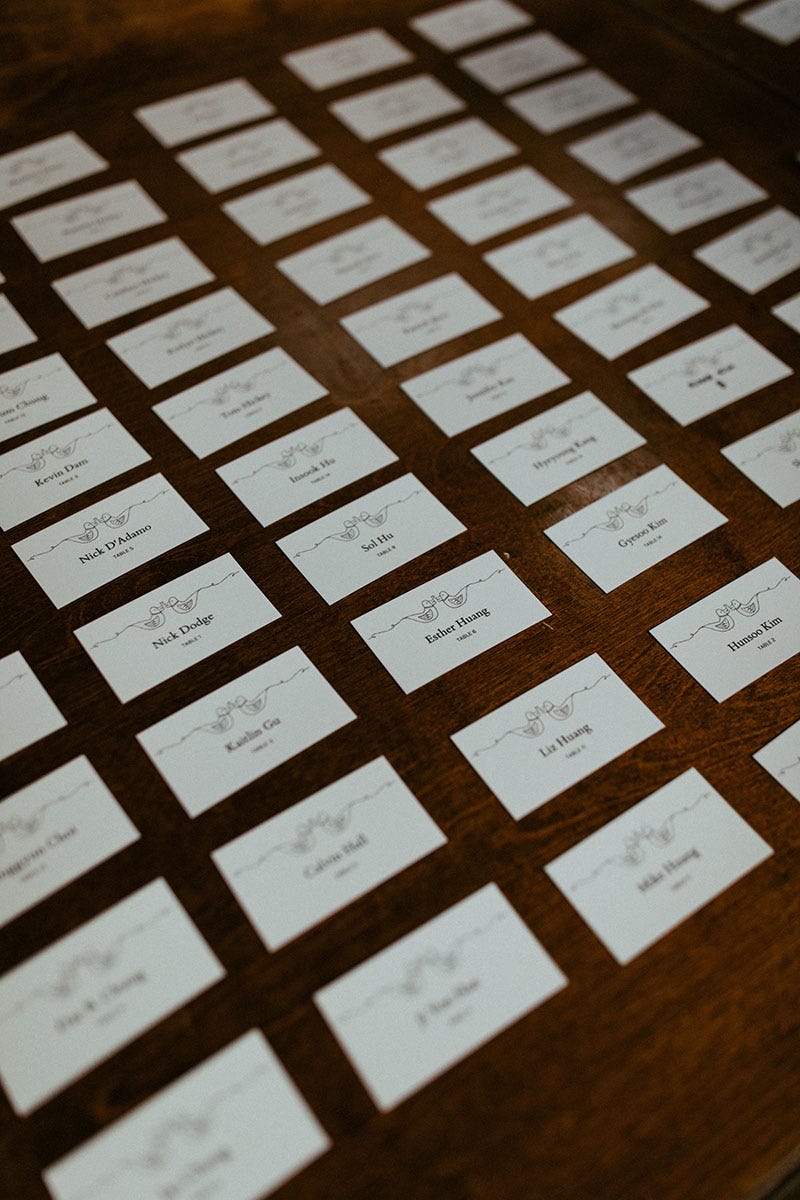
The ducks are back again, this time on our guests’ escort cards. These were printed by Moo as double sided business cards. One can also make a seating chart instead of escort cards, though I think escort cards (alphabetized by last name) are ideal for quicker flow of traffic!
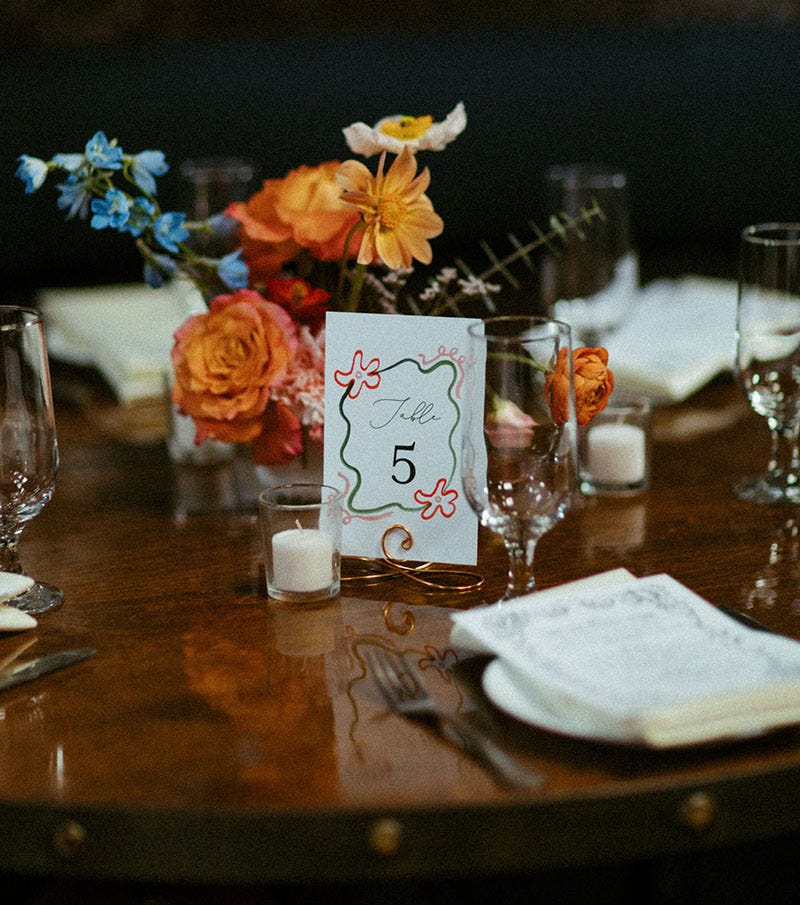
Table Cards:
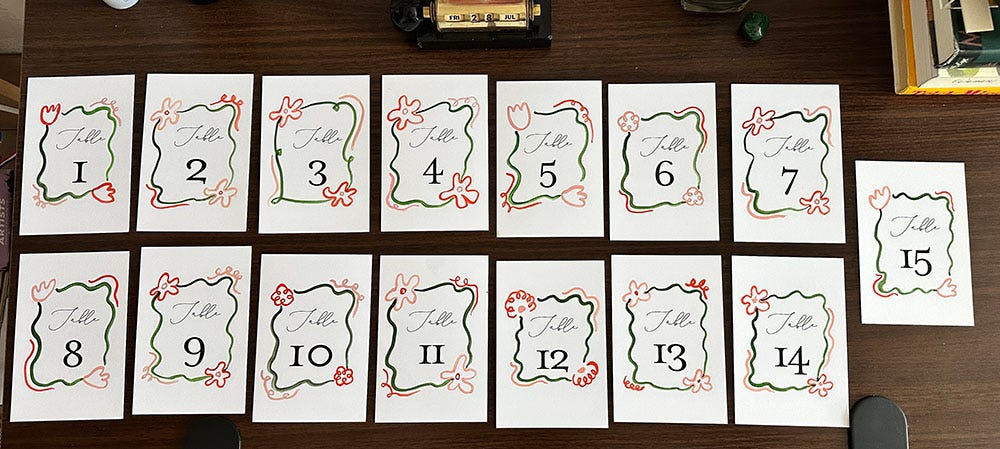
One month out from the wedding, I was overwhelmed with the idea of printing anything more. Instead I bought these double-sided table cards from Amazon and spruced them up with gouache, painting borders by hand to match our florals’ colors.
Welcome Sign:
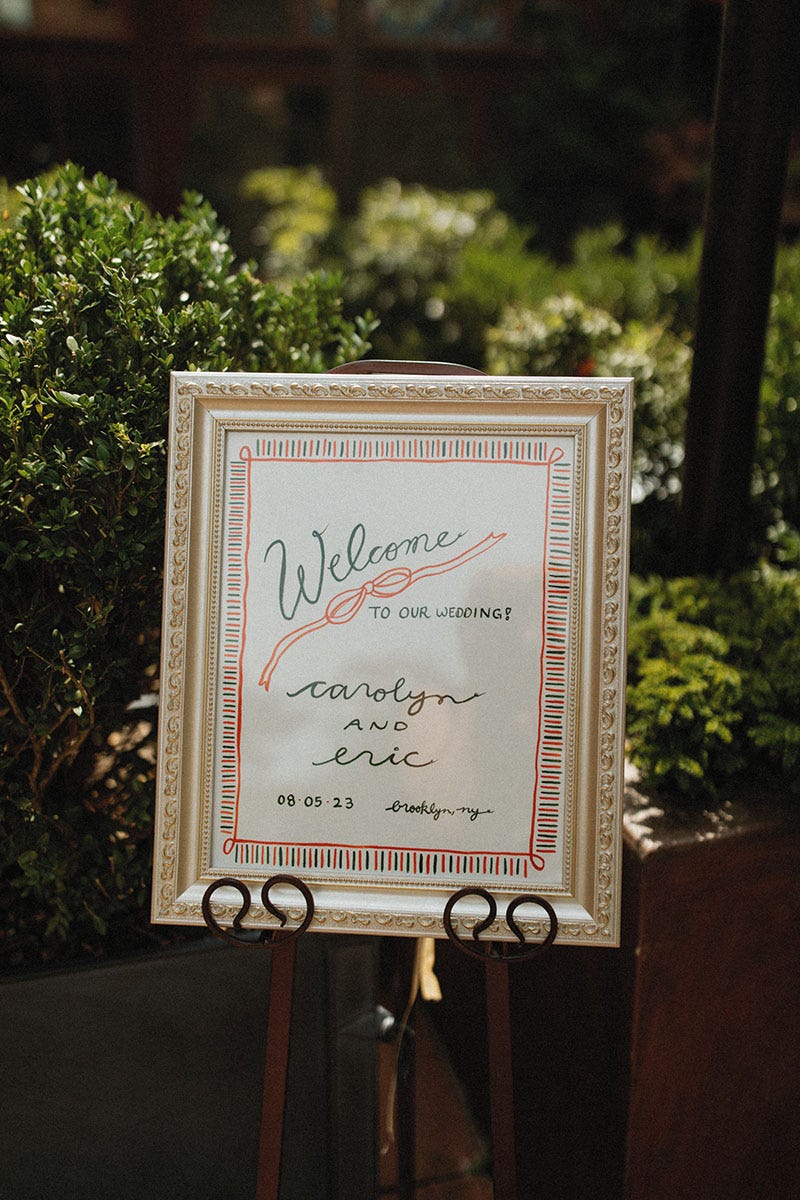
Our welcome sign was also hand painted in orange and green, colors inspired by Danielle Kroll. Though I regret some of those extra curlicues on the handwriting, I love the striped border and that big bow! It was protected from the elements in an antique frame we’ve had for ages, now cracked post-wedding transport. R.I.P. frame, you served us well.
Welcome Table:
I’ve been to many a wedding where the guestbook is largely ignored, maybe hastily signed by a few guests. It breaks my heart to see an unused book that is going to stay mostly empty but also can’t be reused or donated!
Instead of a guestbook, I trimmed note papers so that they could later be added to our scrapbook and put out a bunch of stamps on the table for people to play with. This worked out great since people could leave their notes in the card box and go wild with the stamps if they didn’t have much to say. Some kids left multiple notes and went stamp crazy, which was adorable to see!
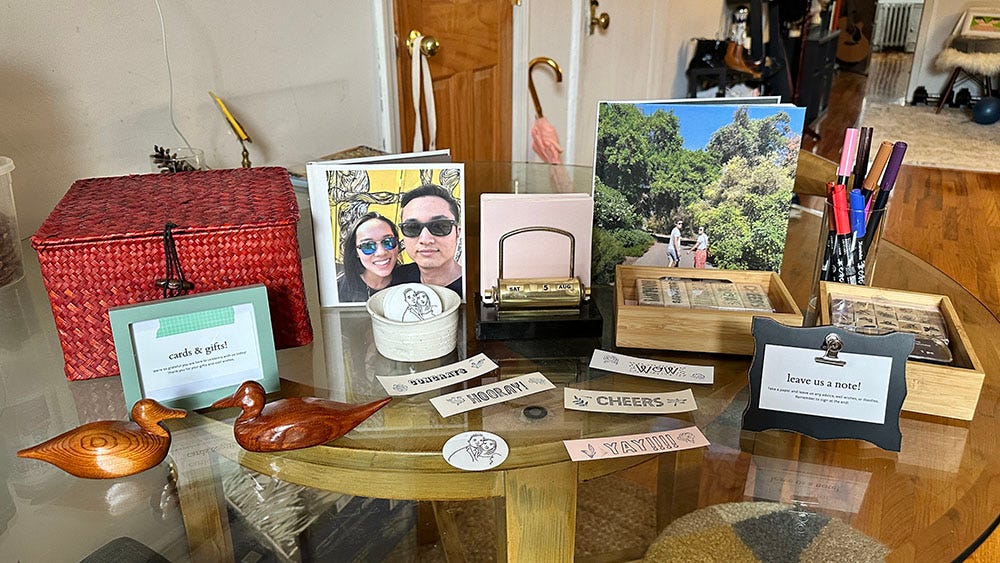
Our table also completed the duck theme with our wooden wedding ducks, kindly gifted to us by my sister. We also printed stickers of our portrait illustration as tiny wedding favors. Our friends have sent us photos of these stickers on their fridges, phone cases, and car stereos! All the leftover stickers were promptly used on the envelopes of our thank you cards.
To wrap everything up, here are some lessons/things to keep in mind:
Deciding on a theme and consistent colors will help your decision making and designs. I waffled a bit between light pink and black in the early stages and green and orange with the final details, so the end result ended up being a combination of minimal and whimsical.
Be wary of overwhelming yourself with DIYs. This is a very common trap especially for those who enjoy DIY projects! I was ambitious in thinking I would draw portraits for every guest as party favors, which I decided to drop later on when it felt too stressful to collect reference photos from everyone. And even though I could hand code my own website, I didn’t want to do something that felt so much like work. Choose your DIY projects wisely and pace yourself—don’t leave a bunch of tasks for the last week. If you do, make sure to call in for help!
“Shop” your home for decorations. All the tiny trinkets and silly items you have collected over the years are prime fodder for showcasing your personality into a day that’s all about you! So much wedding decor is cookie cutter, so the more you divest from that, the more your guests will revel and delight.